 .
.Inhaltsverzeichnis
Creating Mappings
To create a new mapping, navigate to Transformation, right-click on the Mappings menu item and select Create from the context menu to enter the Mapping Editor. First set the source and destination objects in Tab Properties and save your setting1).
Quelltyp definieren
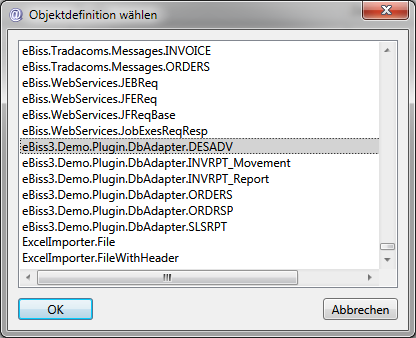
Click the  button. Source object and then in the submenu Select object definition to open the selection of object definitions.
Here you select your desired source object and confirm it with OK. Now the object definition appears in the view(left). Complete your entries by clicking on the Save button to apply the change.
Define target type
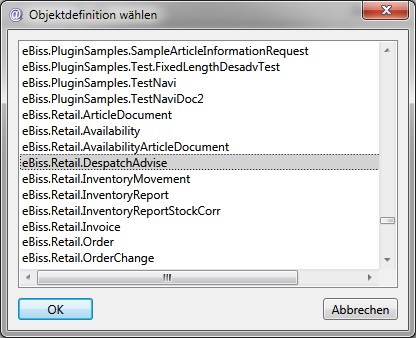
Click on the button  Target Object and then in the submenu Select Object Definition to open the selection of object definitions.
Here you select your desired target object and confirm it with OK. Now the object definition appears in the view(right). Complete your entries by clicking on the Save button to apply the change.
Mapping Name
Now switch to the Tab Definition and enter a meaningful name under Name 2) Enter the name for the newly created mapping. If necessary, you can also enter a description for the mapping under the Description item. Save your setting3) and switch to Tab Properties. Click on  Refresh to see the previously assigned mapping name in the root ruleset.
 Note: If the source type and target type fields are not yet populated, save the mapping so that the fields are updated.
Mapping Rules
The specific mapping rules are created in hierarchically structured rule sets in the middle area of the (definition view). How to use or create them is described in Edit mappings.

